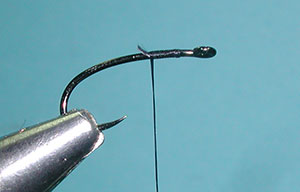
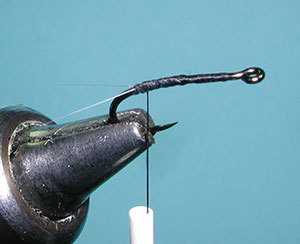
| 1.Attach the thread behind the eye and run a thread base to the bend of the hook.
|
|
|
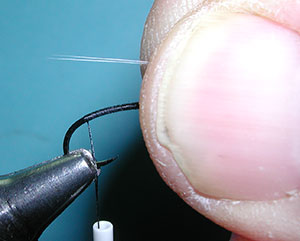
| 2. Mesure two microfibbetts for a length on the hook shank |
|
|
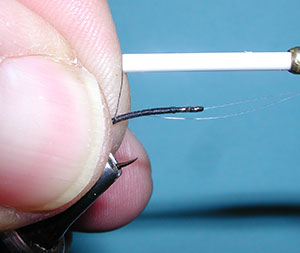
| 3. Attach the two microfibbetts at the bend of the hook and secure the microfibbetts along the top of the hook shank. |
|
|
|
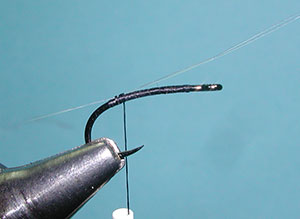
4. Wrap the two microfibbetts forward evenly without overlap to the midpooint of the shank. Clip off the tag end and wrap back to the tail tie in position. |
|
|
| 5. Place on thread wrap between the two microfibetts to splay them and secure with thread wraps up to the midpoint of the shank. |
|
|
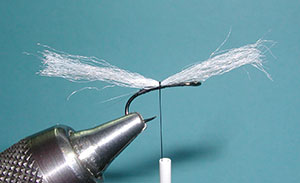
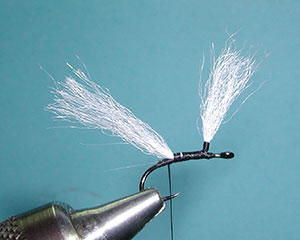
| 6. Clip off a strand of floating Poly Yarn and divide the strand into thirds. Take the 1/3 strand and secure it in the center at the midpoint of the shank with two thread wraps. |
|
|
|
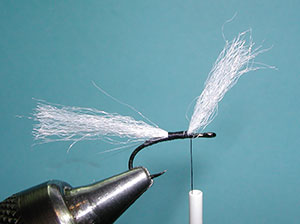
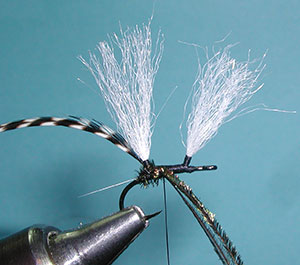
7. Wrap the thread forward over keeping the poly strands on the top of the shank to the 3/4 position and place two thread wraps in front of the strands lifting them upwards. |
|
|
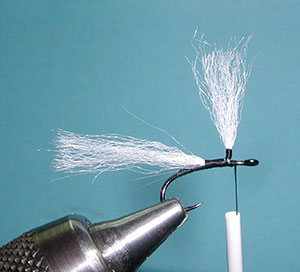
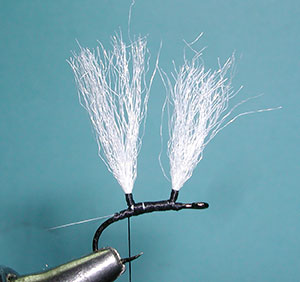
| 8. Create a wingpost with thread wraps at the base of the poly strands. You can hold the poly strands of the parachute wing with your fingers to provide tension. Work the thread upwards about an 1/8 inch and downwards finishing in front of the post. |
|
|
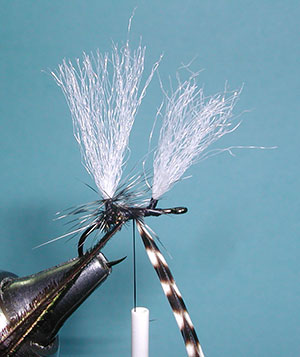
| 9. Next, wrap the thread back to the 1/3 position of the shank in front of the bend and place two thread wraps behind the poly strands, lifting them upwards. |
|
|
|
10. Do the same as the first post, create a wing post by holding the strands for tension and wrapping a basal wingpost about 1/8 inch. Finish with the thread wrap just behind the wingpost. |
|
|
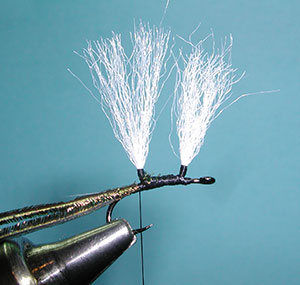
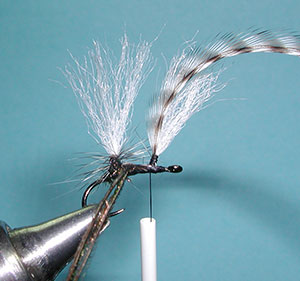
| 11.Attach two peacock herl be the tips under the rear wingpost and wrap to the tail tie in position. |
|
|
| 12. Select a grizzly hackle sized to the hook. Remove the bottom fibers to leave a bare quill. Attach the bare quill to the side of the hook shank just in front of the rear wingpost. The shiny side of the hackle should face te poly wing and the quill should be bare to the top of the threaded wingpost. Place a few thread wraps along the wingpost to lock the bare quill against it. Bring the thread back in front of the wingpost. |
|
|
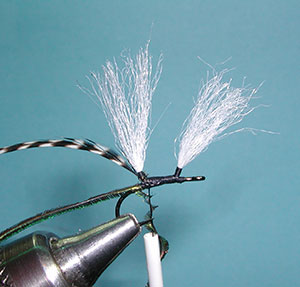
| 13. Take the two herls and wrap a few turns behind the rear wingpost and in front of it. Lock the herls with a couple of tight thread wraps in front of the wingpost. |
|
|
|
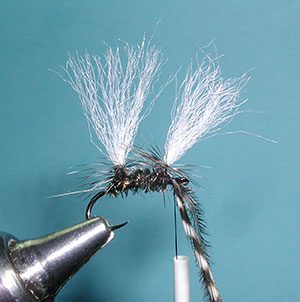
14. Wrap a parachute with the hackle with 3-4 wraps going to the base of the wingpost, secure the hackle with a couple of thread wraps in front of the wingpost and on top of the shank. |
|
|
| 15. Clip off the tag end of the hackle and prepare it for the front wingpost by removing the basal fibers. Secure the bare hackle quill to the side of the hook shank just in front of the wingpost and secure the quill up the threaded wingpost bringing the thread just in front of the wingpost. |
|
|
| 16. Next, wrap the herl forward once more, this time to just in front of the wingpost behind the eye. Secure with a couple of thread wraps. |
|
|
|
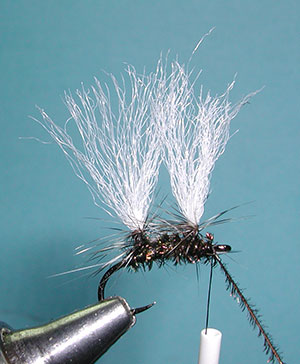
17. Wrap a second parachute with 3-4 wraps of the hackle and secure the tag end in front of the wingpost with a couple of thread wraps. |
|
|
| 18. Trim off the tag end of the hackle and wrap the herl a couple of times in front of the wingpost. Secure the herl and trim off the tags. |
|
|
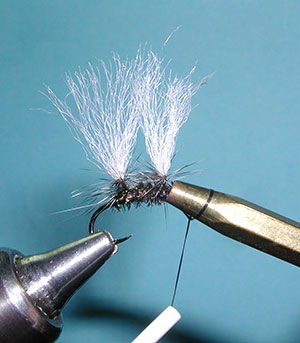
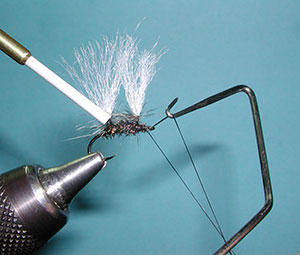
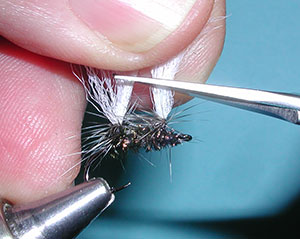
| 19. Use a half hitch tools to lock in the thread without trapping the parachute fibers. |
|
|
|
20. You should have enough room to whip finish. |
|
|
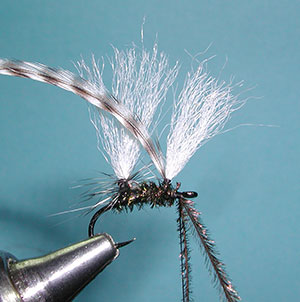
| 21. Trim the poly yarn wings to the length you want. |
|
|
|
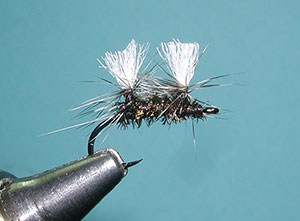
22. The finished Cluster Midge. |
|
©2023 Steve Schalla
This page is not to be copied without
my explicit permission.