


15. Next, place the thread from the front of the bundle and angle wrap to the rear of the bundle crossing the previous wraps. Basically you have a number of X wraps between the two sections.

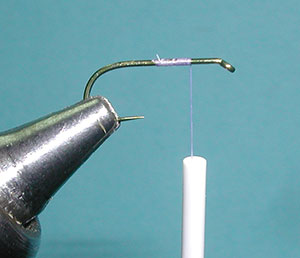
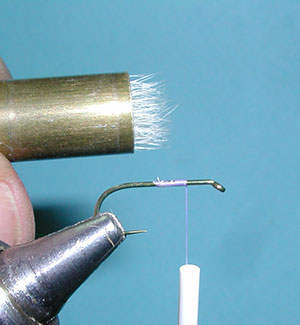
| 1. Insert hook in the vise and attach the thread in the middle of the shank. Wrap the thread to the 1/4 position on the hook shank behind the eye. | |
|
| 2. Clip a bunch of Calf Body Hair from the hide. Note the uneveness of the hair. | |
|
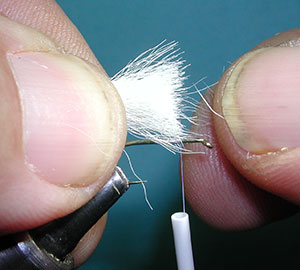
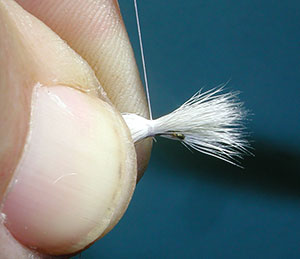
| 3. Place the hair in your left hand with the base of the hair exposed. Gently pull out the loose underfur and dispose. | |
|
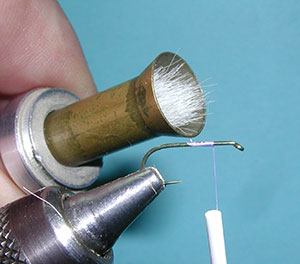
| 4. Place the bunch of Calf Body Hair into a Hair Stacker and tamp the stacker on a firm object to even the hairs. | |
|
| 5. Pull out the stacker cylinder with you left hand exposing the tips of the Calf Body Hair. | |
|
| 6. Remove the hair from the stacker keeping the tips even. Measure the tips to one hook shank long. |
|
|
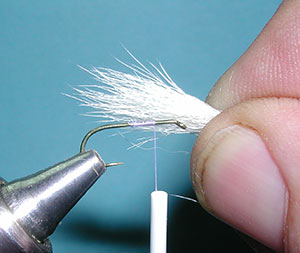
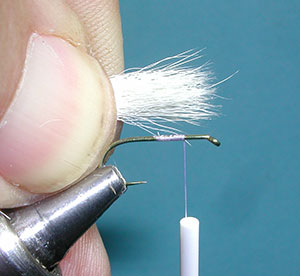
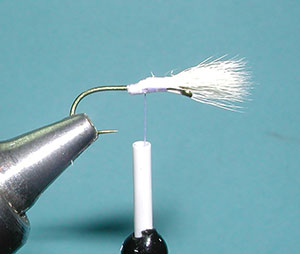
| 7. Place the end of the measured hair bundle on top of the hook shank at the 1/4 position behind the eye. Holding the hair with your left hand, place a couple of firm thread wraps, pulling upward from the hook shank. Place about 6 more wraps around the base of the hair bundle towards the bend of the hook. | |
|
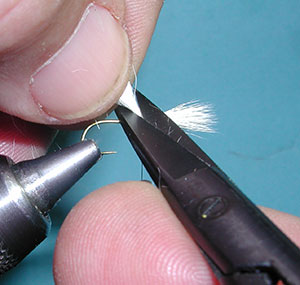
| 8. Lift up on the tag end of the hairs and clip at an angle to give the hair a tapered end. |
|
|
| 9. Lock down the end of the hair bundles with thread wraps. Wrapping back up to the 1/4 position. | |
|
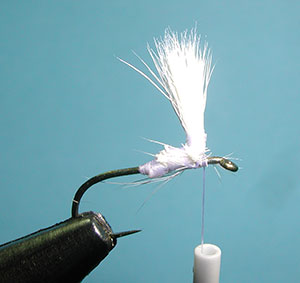
| 10. Pull back the Calf Body Hair away from the eye of the hook and apply a small thread dam at the base of the hair to keep the bundle upright. | |
|
| 11. Apply some thread wraps around the base of the hair bundle going about an eye length from the shank. | |
|
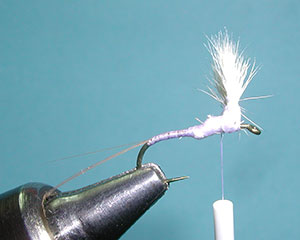
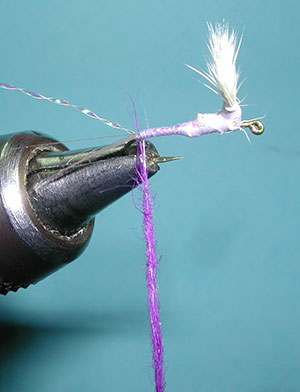
| 12. Next, attach a small number of Microfibetts to the top of the shank behind the hair bundle for a tail. The length of the tail should be equal the hook shank. | |
|
| 13. Splay out the microfibetts by applying a thread wrap under fibetts and a couple of wraps between the fibetts. Wrap the thread back up to the midpoint of the shank. | |
|
| 14. Now, we divide the hair bundle into two sections. Start be placing the thread from behind the bundle and angle wrap to the front creating two sections. |
|
|
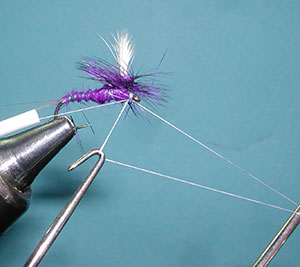
15. Next, place the thread from the front of the bundle and angle wrap to the rear of the bundle crossing the previous wraps. Basically you have a number of X wraps between the two sections.
|
|
|
| 16. Now, wrap up the post of the nearest section about an eyelength. These some of these wraps may show after the hackle is applied and is the reason we are using a white thread. |
|
|
| 17. Then, wrap up the post of the section farthest from you, the same eyelength distance. |
|
|
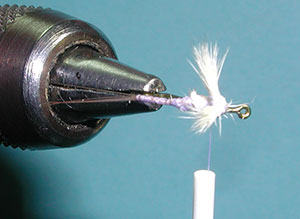
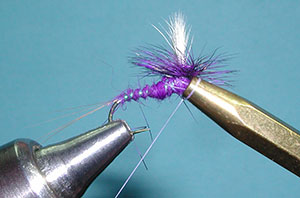
| 18. Attach a piece of krystalflash, for a ribbing, to the top of the abdomen to the tail or bend of the hook. | |
|
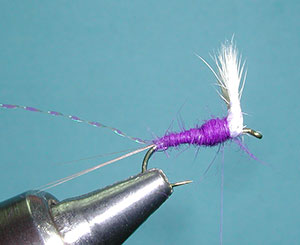
| 19. To apply the dubbing, wax the thread. |
|
|
| 20. Apply the dubbing to the waxed thread and twist the dubbing tightly to the thread. | |
|
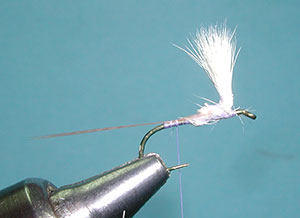
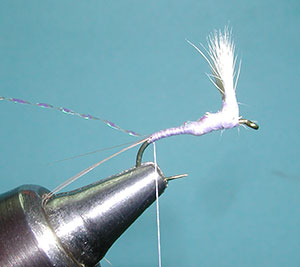
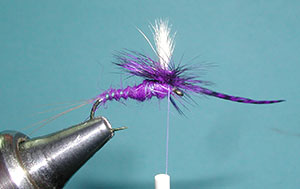
| 21. Build a slightly tapered body to the base of the wing. | |
|
| 22. Apply 5-6 wraps of ribbing and secure behind the wing base. | |
|
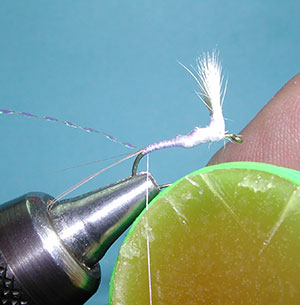
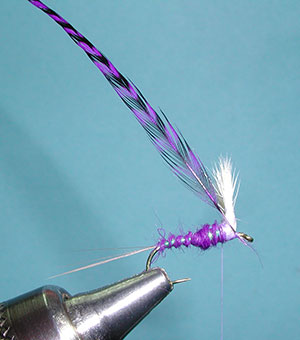
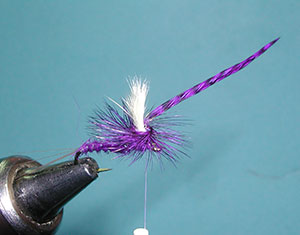
| 23. Select a Rooster Hackle, either a Cape or a Saddle. Clean the fibers off the base of the hackle and secure the base to the hook shank just behind the eye. The cup of the hackle should face the wing. | |
|
| 24. Secure the base of the hackle around the base of the wing with thread wraps. |
|
|
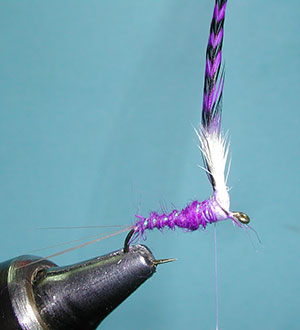
| 25. Apply some additiional dubbing to the thread and wrap a thorax around the base of the wing. | |
|
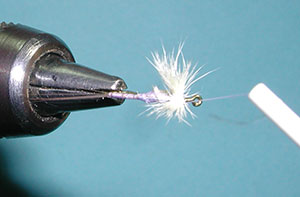
| 26. Wrap the hackle about 4 times wround the base of the wing. |
|
|
| 27. Secure the hackle wraps with thread wraps that are below the hackle wraps. |
|
|
| 28. Trim off the tag end of the hackle and secure with a couple more turns of the thread beneath the hackle. Secure the thread with a couple of half finishes. | |
|
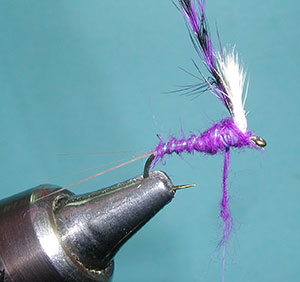
| 29. Finally, Whip Finish. |
|
|
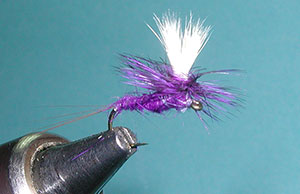
| 30. The finished ParaWulff Purple. |
|
©2023 Steve Schalla
This page is not to be copied without
my explicit permission.