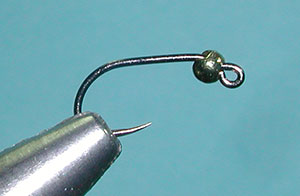

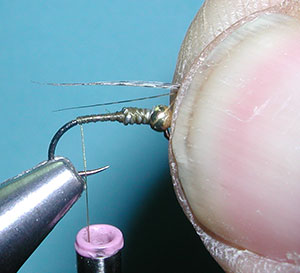
| 1. Slide the hook point through the small hole of the bead, the slot on the other side will allow the hook to move past the hook bend. At the eye of the hook, orient the bead so that the slot lines up with the hook eye. |
|
|
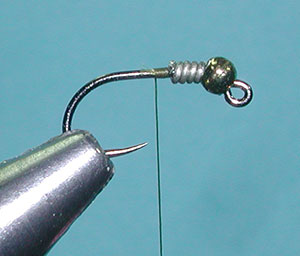
| 2. Wrap about 4-5 turns of .015" Leadfree wire behind the bead and push the wire up against bead. I use hackle pliers to wrap the wire forward to the bead. |
|
|
| 3. Attach the thread behind the wire and build a thread dam against it. | |
|
| 4. Wrap the thread over the wire to secure and wrap the thread back to the tail tie-in position. |
|
|
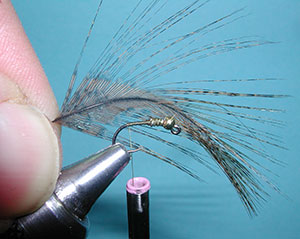
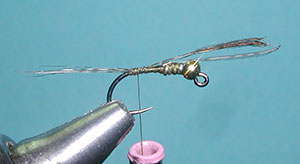
| 5. Clip off about a 4-5 fibers from a Coq de Leon tailing hackle for the tail. To keep the tips even, extend the fibers at a 90 degree angle to the guill. Notice that the tips are now even, just clip and hold the tips securely. | |
|
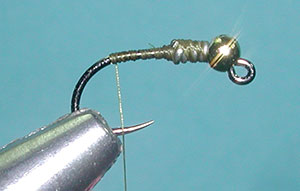
| 6. Measure the tailing fibers so they are about the same length as the hook shank. |
|
|
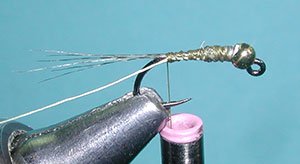
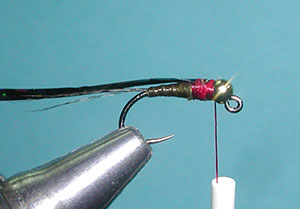
| 7. Place the fibers on the top of the hook shank and secure with two wraps at the bend of the hook. Secure the tag end of the tailing fibers to the top of the hook shank to the wire wraps. |
|
|
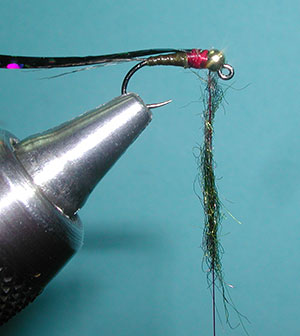
| 8. Attach a piece of 6/0 White thread near the tail tie-in position and secure with thread wraps. | |
|
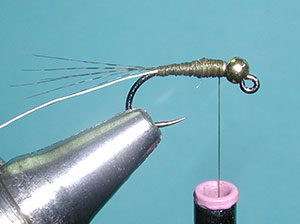
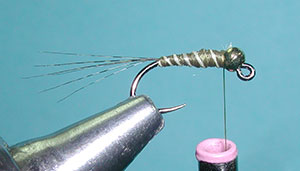
| 9. Wrap a thread body with a smooth taper to the wire wraps and cover the wire wraps completely with the thread up to the bead. |
|
|
| 10. Twist the ribbing thread into a rope and spirol wrap the ribbing forward with about 5-6 spirols to the bead. Secure the ribbing behind the bead and trim off the tag. |
|
|
| 11. Whip finish and trim off the thread. |
|
|
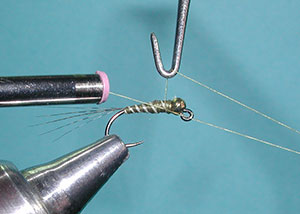
| 12. Use a clear hard finish to coat the thread body. I am using Loon's UV Clear Fly Finish, Flow which requires a UV Source to harden the finish. |
|
|
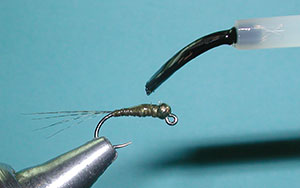
| 13. Use a UV lamp to cure the finish. |
|
|
| 14. Attach the red thread behind the bead and wrap a base to the thorax about one bead width behind the bead. |
|
|
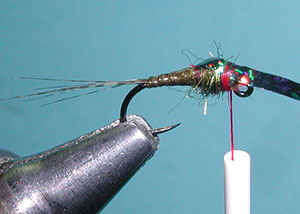
| 15. Attach a piece of Black Holotinsel behind the bead for a wingcase. You can attach the material either on top or the bottom of the shank. Since the hook rests upside down, attaching the wingcase material to the bottom of the shank will actually give a more realistic appearance. |
|
|
| 16. Next, twist some Arizona Synthetic Peacock dubbing to the thread. |
|
|
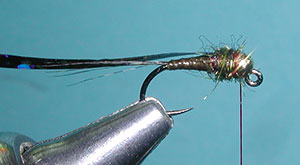
| 17. Wrap the dubbing for a thorax that is about the same size as the bead. |
|
|
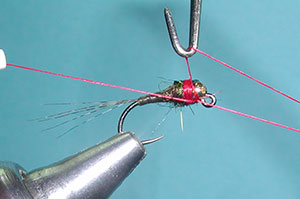
| 18. Bring the Holotinsel over the dubbed thorax for a wingcase and secure with a couple thread wraps. |
|
|
| 19. Bring the tag end of the tinsel back towards the tail and secure with two tight wraps between the bead and the tinsel. |
|
|
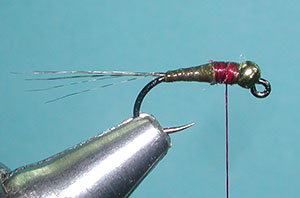
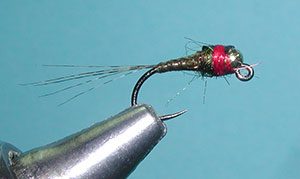
| 20. Trim off the tag end of the tinsel and wrap a red collar behind the bead. Use a Whip Finish. |
|
|
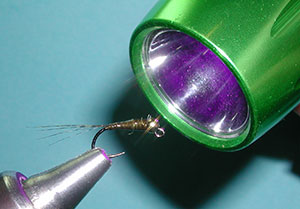
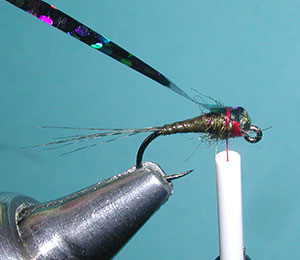
| 21. The finished Iron Lotus, BWO. |
|
©2023 Steve Schalla
This page is not to be copied without
my explicit permission.