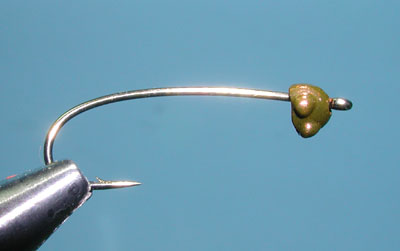


| 1. A beadhead is optional but it provides greater weight to get the nymph closer to the rocky bottoms of fast flowing streams. I am using a new bead called an Evolution Nymphhead. It has the triangular shape of a stonefly as well as two eyes located in the back of the head. Slide the bead onto the hook and attach the hook to the vise. |
|
|
|
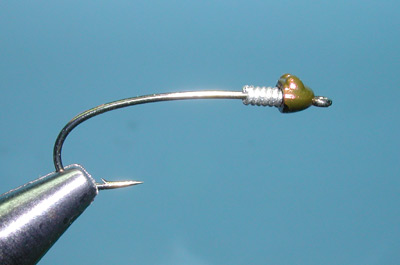
2. Add a small amount of Leadfree Wire wrapped around the shank and slide the wire into the bead cavity to help stabilize and secure the bead position.
|
|
|
|
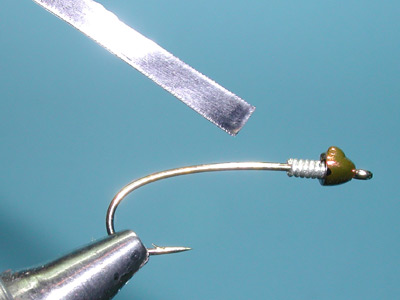
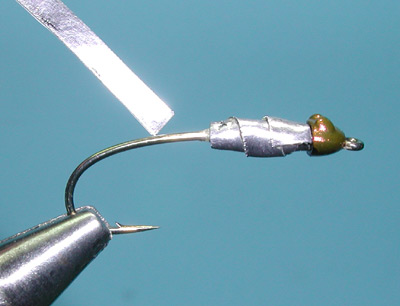
3. Trim a strip of self adhesive Lead Tape that is about 1/8" wide. Remove the backing and apply the strip behind the eye.
|
|
|
|
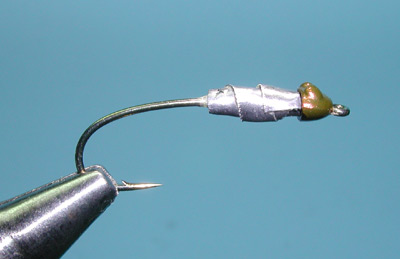
4.Create a tapered thorax similar to a Stimulator. The lead material is not elastic so you will need to cut the material at the base of the thorax and use a second piece from the bend of the hook to the thorax keeping the profile as thin as possible. |
|
|
|
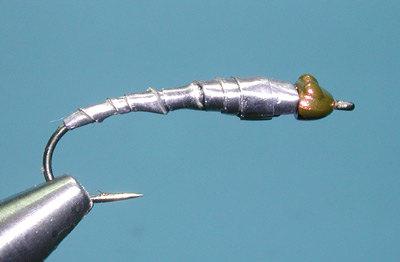
5. The tag end covers the rear of the thorax for a smooth transition. Start the wrap at the bend of the hook and wrap the tape forward in wide spirols to keep the profile slim. |
|
|
|
6. Smooth the lead tape with your fingers, minimizing the edges of the lead tape. |
|
|
|
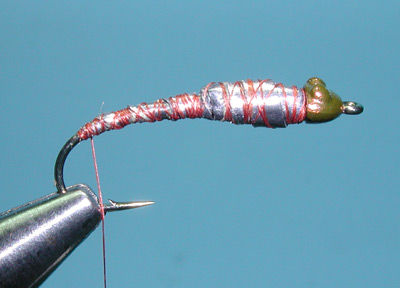
7. Attach your thread just behind the bead and wrap over the lead wraps to the bend of the hook. This will be the tail tie-in position. |
|
|
|
8. Krystian Niemy used 6-7 Pheasant Tail fibers for the tail on this pattern. I am modifying the pattern somewhat by utilizing Goose Biots for the tailing materials. To build the tail, wrap a small ball of dubbing at the bend of the hook. |
|
|
| 9. Then, place a biot on each side of the hook with the concave side facing outward. Secure with thread wraps just in front of the dubbed ball. The length of the tail should be about 3/4 of the hook shank length. Secure the butt ends of the biots against the shank. The dubbed ball will keep the biots in a desired angle from the shank. | |
|
|
10. Krystian also used the cuticle of the Pheasant Tail Quill for the ribbing strip. My modification is to use a strip of Thin Skin which we can select colorations for different stonefly patterns. Trim a 1/16" wide strip and remove the backing. |
|
|
|
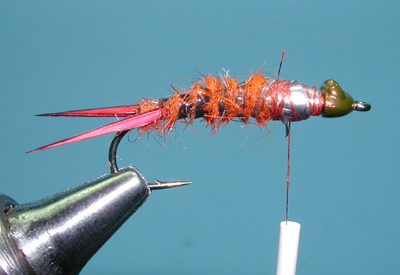
11.Attach the end of the strip just in front of the tail tie-in position. |
|
|
|
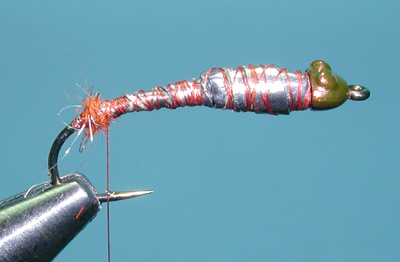
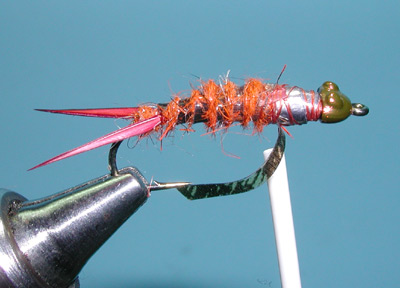
12. Apply the Haretron Plus dubbing to the thread and wrap the dubbing forward to the base of the thorax which is about in the middle of the hook shank. Try to keep this abdomen thin and tapered to the thorax. |
|
|
|
13. Dubbing is wrapped to the mid shank where the thorax just begins. |
|
|
|
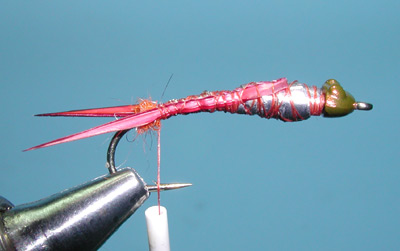
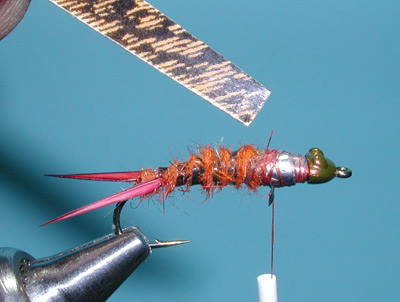
14.Wrap the Thin Skin strip forward to the base of the thorax allowing a space between the wraps for the dubbing to be exposed. Secure the tag end of the strip at the thorax position. |
|
|
| 15. Trim off the tag end of the ribbing and secure with thread wraps. | |
|
|
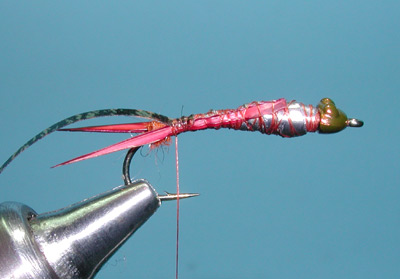
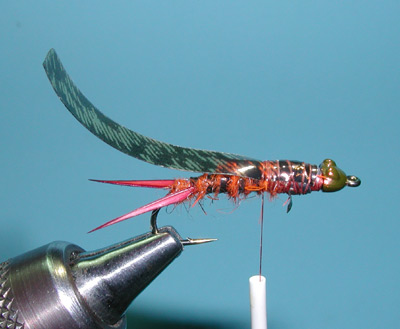
16. Attach another strip of Thin Skin that is about 3/16" wide to the base of the thorax at the top of the hook shank. |
|
|
|
17. Secure with thread wraps and wrap the thread back to the base of the beadhead. |
|
|
| 18. Apply dubbing to the thread. | |
|
|
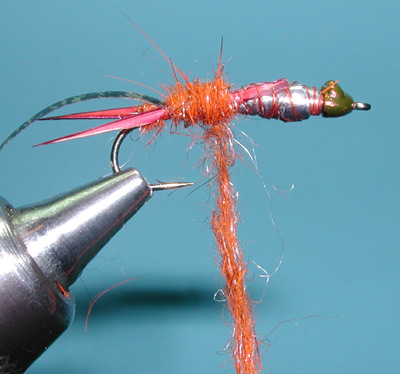
19. Dub a tapered thorax with the Haretron Plus dubbing back to the base of the thorax. |
|
|
| 20. Create a dubbing loop. Wax the thread of the loop to assist in laying Partridge fibers with the loop. In creating the loop, wrap the thread around the base of the two threads that meet at the thorax, this will create a tight loop in which to secure material. Now, wrap the thread forward to just behind the eye of the hook. | |
|
| 21. Place the fibers stripped from a Partridge Feather within the loop and pull the loop downward and twist to tighted the loop. You can move the fibers within the thread loop and also position the fibers for the desired length. Note how the Partridge fibers are distributed and have a uniform length from the thread core. | |
|
| 22. Tighten the loop further to lock in the fibers. Use hackle pliers to secure the loop so that you can remove the dubbing loop tool. | |
|
|
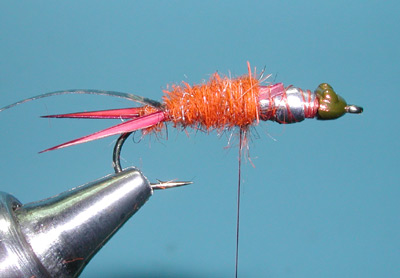
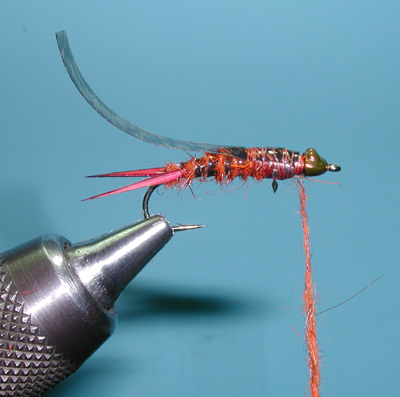
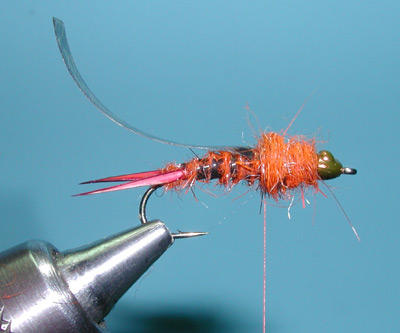
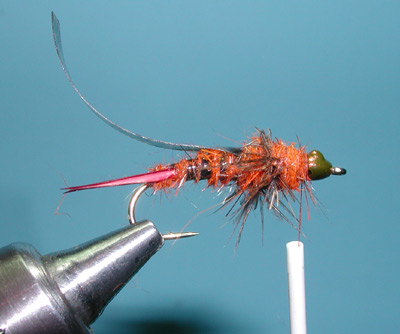
23. Wrap the fibered chenille evenly around the thorax about 3-4 times to the front of the thorax behind the eye. Secure the chenille with thread wraps and trim off the tag end. You should still have about an eyelength in front of the thorax in which to attach the hackle. Use a dubbing brush to help separate the fibers and sweep them back towards the tail. |
|
|
|
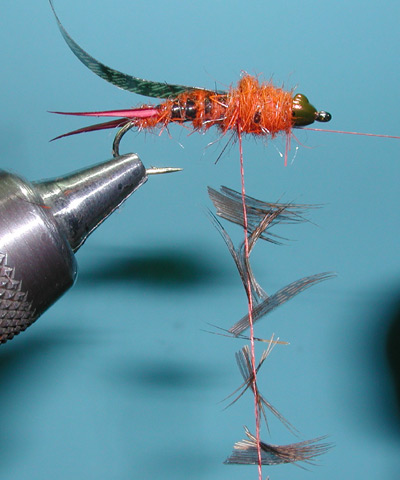
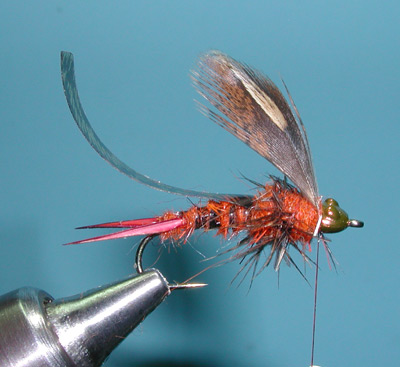
24. Attach a partridge feather by the base of the quill to the shank behind the beadhead. The front of the feather should face the eye with the fibers of the feather curved towards the tail. Secure the partridge feather butt with 4-5 tight thread wraps. Trim off the butt end of the quill that extends beyond the thread wraps. |
|
|
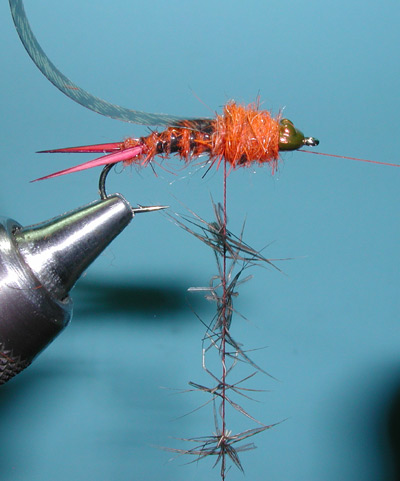
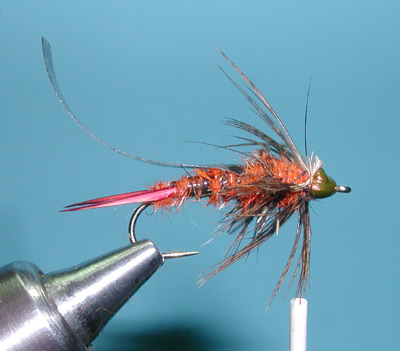
| 25. Wrap the hackle two to three times around the shank. Use your fingers to stroke the fibers back from each turn to keep the fibers from getting caught on each other. Secure the final wrap with the thread and apply 2-3 additional wraps prior to trimming off the excess hackle. | |
|
|
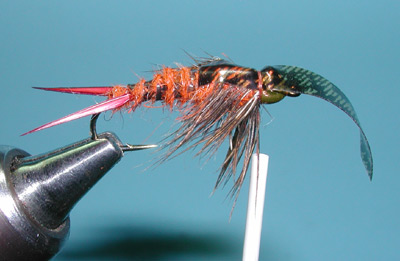
26. Bring the wingcase strip over the thorax tightly and secure with thread wraps behind the beadhead. |
|
|
|
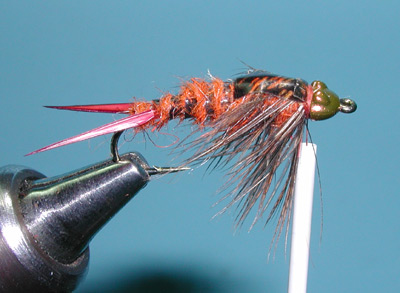
27. Trim off the butt end of the wingcase strip. Wrap a thread head behind the Bead. Whip Finish. Use your dubbing brush to brush back the hackle fibers. |
|
|
|
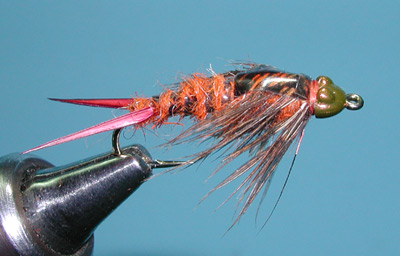
28. Whip Finish. Use your dubbing brush to brush back the hackle fibers. |
|
©2023 Steve Schalla
This page is not to be copied without
my explicit permission.